How do you prepare for your first drill build?
Picking up a power drill without trade training feels risky. Skipping basic preparation leads to jammed bits or injuries. This guide walks through safe setup steps.
Published
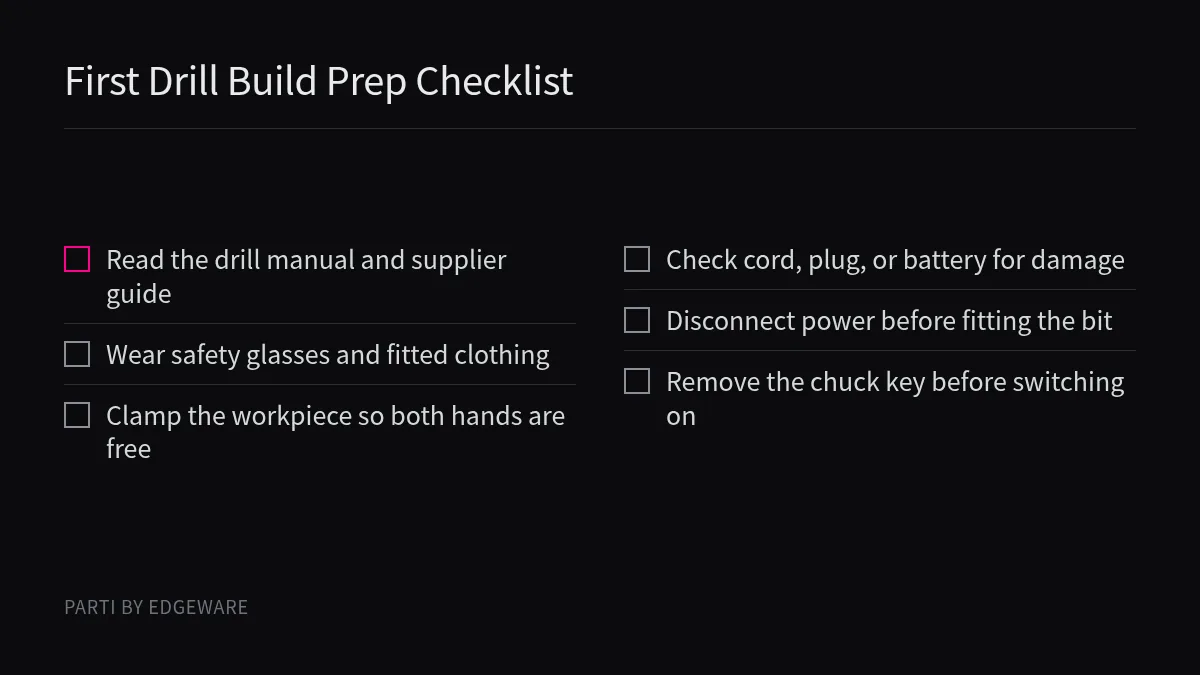
Prepare for your first drill build by reading the manual, wearing safety glasses and fitted clothing, clamping your workpiece so both hands stay on the tool, inspecting the drill cord or battery for damage, and disconnecting power before fitting bits.

Getting ready takes only a quiet moment before the build starts. Below we cover what to wear, how to arrange your work area, how to inspect the drill, and when to pause or ask for help.
What should you wear and have to hand?
Walking up to a worktable in everyday clothes is an easy mistake. Loose sleeves or missing eye protection turn a simple slip into an injury.
Wear safety glasses or a face shield, fitted clothing with long hair tied back, and appropriate footwear or gloves as your task and manual require. Keep the operator's manual, matching bits, and clamps within easy reach before you start.
Protective gear and clothing
In Canada, the Canadian Centre for Occupational Health and Safety (CCOHS) advises drill operators to wear safety glasses or a face shield paired with safety glasses or goggles, as detailed in the CCOHS powered hand drill guidance1. In its general electric tool guidance, CCOHS also notes wearing personal protective equipment and clothing suited to the job, which can include hearing protection, respiratory protection, gloves, safety boots or shoes, or rubber boots. Other places have different rules, and your own contract, supplier manual, and local authority decide what applies to your build.
When you work around a spinning chuck, keep sleeves fitted, remove dangling jewellery, and tie back long hair so nothing catches on the bit. If your assembly involves handling frame profiles and connectors, check the supplier's instructions first to see whether gloves are suitable for handling the parts or whether they should be kept clear of rotating tools.
Items to put on the table first
Gathering your kit before anyone switches a tool on keeps the session calm. Have these items ready:
- The operator's manual for the drill and the assembly instructions from your material supplier.
- Sharp, straight drill bits or driver attachments that match the size and capacity of the drill and suit the material.
- Clamps, a vice, or another holding device to secure the stock you are working on.
- The dedicated battery charger specified by the tool manufacturer, or an approved extension cord with the proper wire gauge if your drill is corded.
If you are planning a group build session and want to see how a shared room can host hands-on activities, take a look at our events page or read our guide on what keeps first-time builders safe during assembly.
How do you set up the workspace?
Holding the piece in one hand while you drill is tempting when you are in a hurry. If the bit binds, the piece can spin and hurt you.
Set up a dry, stable workspace where you can stand with balanced footing. Clamp the workpiece firmly so both hands control the drill, route power cords away from the cutting path, and store batteries away from loose metal.
Securing the workpiece
CCOHS states clearly that you must secure the workpiece being drilled to prevent movement, and clamp small stock securely to prevent twisting or spinning. Never drill with one hand while holding the material with the other. Using clamps or a vice lets you keep both hands on the drill for better control, and it helps prevent injury if a bit jams or binds in the material. When a drill has an auxiliary second handle, CCOHS recommends using it for larger work or continuous operation.
Keep the work surface at a height where you do not have to overreach. Always maintain proper footing and balance, and never reach under or around the stock while you are drilling. If you are assembling a kit made of generic frame profiles and connectors, lay the components out on a flat, clear surface and follow the supplier's sequence so you are never supporting an unstable frame with your body while driving a fastener. For more context on how modular kits go together, see our guide on whether you can build furniture from frame profiles.
Managing water, cords, and battery storage
Where you set up matters as much as how you clamp the job:
- Dry ground only: CCOHS warns never to use a powered drill in wet or muddy locations; use a nonpowered drill instead.
- Cord routing: Keep all power cords clear of the cutting area and out of the path the tool will take. Never raise or lower a drill by its cord. For outdoor work with corded tools, CCOHS specifies using outdoor extension cords marked "W-A" or "W".
- Safe battery storage: Store battery packs where nails, screws, wrenches, or other metal parts cannot touch the terminals. Metal touching the terminals can short the battery and cause sparks, fires, or burns.
How do you check the tool before you use it?
Pulling the trigger on a shared drill straight away catches beginners out. A cracked casing, frayed cord, or loose chuck key can fail the moment the motor starts.
Before each use, disconnect the power or remove the battery, inspect the casing, switches, cord, plug, or battery pack for damage, seat the bit straight in the chuck, remove the chuck key, and tag any defective tool out of service.
Step-by-step pre-use inspection
In Canada, the CCOHS basic safety fact sheet for electric tools2 sets out a clear inspection routine before each use. Every builder should run through these checks before connecting power:
| Component | What to look for before you start | What to do if you find a fault |
|---|---|---|
| Body, handle, and vents | Cracks in the casing, loose auxiliary handles, or blocked air vents | Do not use the tool; tag it "Out of service" |
| Switch and trigger lock | Damaged switches or faulty trigger locks that stick | Remove from service for qualified repair |
| Cord and plug (corded drills) | Frays, cracked insulation, loose or missing prongs, or missing ground prong | Replace immediately with a tool in good order |
| Battery pack (cordless drills) | Cracks, leaks, swelling, or corroded terminals | Do not charge or use; follow manufacturer disposal rules |
| Drill bit and chuck | Bent or dull bits, off-centre seating, or a chuck key left in the chuck | Disconnect power, fit a straight sharp bit, remove the key |
Fitting the bit and checking electrical safety
Always switch the drill off and disconnect the power supply, or remove the battery pack, before changing bits, making adjustments, or storing the tool. Select a sharp bit that is not bent and fits the drill's capacity. Seat it properly and tighten the chuck securely so the bit turns true without vibration. If your drill uses a chuck key or adjusting wrench, take it out immediately before turning the tool on.
For corded tools in Canada, CCOHS notes that tools must be properly grounded with a three-prong plug in a grounded outlet, be double-insulated (and labelled as such), or run through a low-voltage isolation transformer, and be tested for effective grounding with a continuity tester or ground fault circuit interrupter (GFCI). Never remove the third grounding prong. For cordless drills, use only the battery and charger specified by the manufacturer, and avoid overcharging or extreme temperatures.
When should you ask for help?
Pushing through fatigue, forcing a stuck drill, or lifting bulky kit alone turns a manageable beginner project into a hazard. Knowing when to pause is a core safety skill.
Ask for help before using an unfamiliar drill without training, whenever a bit jams or a tool sparks or overheats, and when lifting or moving materials that need a manual handling risk check.
Unfamiliar tools, jams, and electrical faults
CCOHS stresses that you should be properly trained and read the operator's manual before using a powered tool. We do not know your background or the exact drill model on your workbench, so our honest view is that a beginner should always have an experienced person check their setup on day one. If you are organising a community build, pair first-timers with someone who knows the tool, and build in regular rest breaks so nobody works with tired hands. People wondering how shared venues run group sessions can also read our guide on whether a café can double as an event space.
Stop work and get qualified help in these situations:
- A jammed bit: Never try to free a jammed bit by starting and stopping the drill. CCOHS instructs you to unplug the drill first and then remove the bit from the workpiece.
- Hard material or large holes: Do not use excessive force on hard material. Reduce drill speed if possible, drill a small pilot hole before a large hole, and slow the feed rate just before breaking through the surface. Never use a hole saw cutter without a pilot drill, or high-speed steel (HSS) bits without cooling or lubrication.
- Sparking or hot cords: If a power cord feels more than comfortably warm, or if the drill sparks, switch it off and have it checked by an electrician or other qualified person. Never attempt field repairs yourself.
Lifting and moving build materials
Building often involves carrying boxes of parts or shifting assembled frames. In Great Britain, the Health and Safety Executive (HSE) publishes its brief guide on manual handling at work3 under the Manual Handling Operations Regulations 1992, explaining how employers assess lifting, lowering, carrying, pushing, and pulling tasks to reduce the risk of musculoskeletal injury. Even in an informal build, apply the same caution: check the weight and awkwardness of the load before you lift, and ask a second person to share the lift rather than straining your back.
Conclusion
Read the manual, wear eye protection, clamp the workpiece, inspect the drill with the power off, and ask for help whenever something feels wrong.
About Parti
Parti by Edgeware is Edgeware's first industry solution. Parti Race is a build day where people put karts together from frame profiles with a drill, and the events page shows photos of it. The first café is planned for Hangzhou and is not open. This guide is general information, with a safety focus, for first-time builders and people organising a build day, not a manual for any product, and the instructions that come with your own parts and tools come first.
Sources
- CCOHS: Powered hand tools, drills: Canadian safety rules for selecting drill bits, clamping workpieces, wearing eye protection, and operating hand drills safely.
- CCOHS: Powered hand tools, electric tools, basic safety: Pre-use inspection checklists for cords, plugs, batteries, grounding, and tagging defective electric tools out of service.
- HSE: Manual handling at work, a brief guide: Great Britain guidance on assessing lifting, carrying, pushing, and pulling risks during manual handling tasks.